")
Implementing a paywall on your WordPress site can be a valuable strategy for monetizing your content and generating revenue. By allowing you to restrict access to certain parts of your website and providing exclusive content to paying subscribers, a paywall can help you establish a sustainable business model.
In this guide, we will walk you through the process of implementing a paywall on your WordPress site using plugins. We will cover everything from understanding what a paywall is and why it is beneficial for your site, to choosing the right plugin for your needs.
When it comes to selecting the right plugin, we will discuss three popular options: Plugin 1, Plugin 2, and Plugin 3. We will explain the key features of each plugin to help you make an informed decision.
Once you have chosen a paywall plugin, we will guide you through the process of installing and activating it on your WordPress site. We will then delve into the configuration of the paywall settings, including setting up pricing plans, customizing the paywall appearance, and integrating a payment gateway.
Next, we will explain how to place paywalls strategically on your WordPress content to maximize conversions and revenue. We will provide tips and best practices for effectively gating your content.
To ensure everything is working as expected, we will guide you through the process of testing the paywall on your site. We will discuss common issues that may arise and provide troubleshooting tips to help you resolve them.
By the end of this guide, you will have a comprehensive understanding of how to successfully implement a paywall on your WordPress site and start generating revenue from your valuable content.
<>
Key takeaway:
- Implementing a paywall on your WordPress site can help monetize your content and provide exclusive access to certain resources or information.
- Choosing the right plugin is crucial for a smooth implementation process. Consider factors like features, compatibility, and customer support when selecting the plugin.
- Installing and activating the paywall plugin is the first step towards implementing the paywall. Ensure that it is properly installed and activated to start configuring the settings.
- Configuring the paywall settings involves setting up pricing plans, customizing the appearance of the paywall, and integrating a reliable payment gateway to enable secure transactions.
- Placing the paywalls strategically on your WordPress content is important to create a seamless user experience. Identify the appropriate areas to place the paywalls to encourage conversions.
- Testing the paywall functionality is essential before making it live. Conduct thorough testing to ensure that the paywall is working correctly and that users can seamlessly access the paid content.
- Common issues and troubleshooting may arise during the implementation process. Stay prepared with knowledge on potential issues and their solutions to ensure a smooth paywall experience for users.
What is a Paywall and Why Use it on Your WordPress Site?
A paywall is a feature that restricts access to certain content on WordPress sites, requiring users to pay in order to view it.
Paywalls offer several benefits to WordPress site owners. They enable the monetization of content that may have previously been offered for free, thereby providing a source of revenue to sustain the website and cover operational costs.
Paywalls ensure that only paying users can access the content, which helps enhance its quality and value. This exclusivity serves as motivation for site owners to consistently produce high-quality content that appeals to their target audience.
Paywalls boost user engagement as users tend to be more invested in content they have paid for. By implementing a paywall, WordPress site owners can generate income, improve the overall quality of their content, and cultivate a loyal and engaged user base.
Choosing the Right Plugin
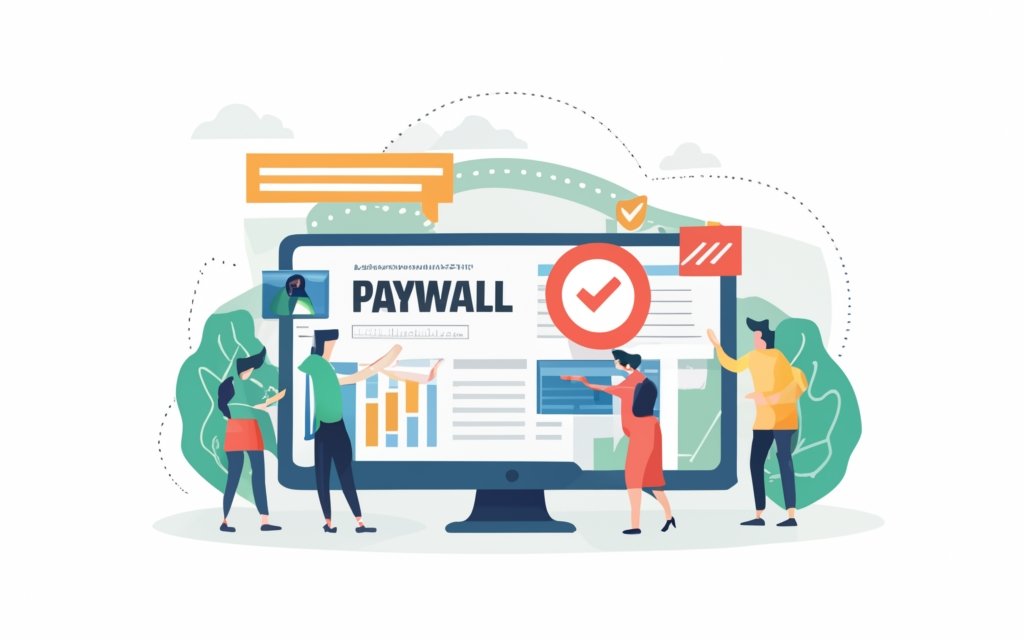
Photo Credits: Www.Uncleb.Tech by Alexander Miller
When it comes to implementing a paywall on your WordPress site, one crucial factor you must consider is choosing the right plugin. In this section, we’ll explore three plugins that can seamlessly integrate a paywall system into your website. From Plugin 1 to Plugin 3, we’ll uncover their unique features and functionality, helping you make an informed decision to monetize your content effectively. So, let’s dive into the world of paywall plugins and unlock the potential of your WordPress site.
Plugin 1
- Plugin 1 is a recommended paywall plugin for WordPress.
- It offers a complete solution for implementing a paywall on your WordPress site.
- With Plugin 1, you can monetize your content by restricting access to a limited amount of content.
- It is the best option for bloggers looking to generate revenue through a freemium model.
- Plugin 1 also allows you to create membership portals for sharing exclusive content.
- Installing and activating Plugin 1 is straightforward with a valid license key.
- Once activated, you can configure the paywall settings to your preferences.
- Plugin 1 offers the flexibility to set up different pricing plans for multiple membership levels.
- You can customize the appearance of the paywall using various divi modules.
- Integrating a payment gateway with Plugin 1 is seamless, providing advanced payment options.
- By placing paywalls on your WordPress content, Plugin 1 restricts access to paid content for non-members.
- Testing the paywall functionality helps ensure proper operation without impacting user experience.
- In case of issues or troubleshooting needs, Plugin 1 provides reliable customer support.
Plugin 2
Edited
When choosing a paywall plugin for your WordPress site, consider Plugin 2. It provides tools to monetize your content, restrict access, and offer exclusive content to paying subscribers. Plugin 2 allows you to customize access rules, set up membership levels and subscription plans, and offer multiple pricing options. It seamlessly integrates with various payment gateways, giving users advanced payment options. With Plugin 2, you can easily customize the look of your paywall, maintaining your brand image and creating a cohesive user experience.
Plugin 3
Plugin 3 is recommended for implementing a paywall on your WordPress site. It offers a flexible content paywall and customizable access rules, giving you control over restricting content and user access.
Features | Benefits
———— | ————-
Flexible content paywall | Choose which content to restrict, monetize valuable content.
Customizable access rules | Set different access levels for user groups, offer multiple membership options.
To implement Plugin 3, install and activate the plugin using the provided license key. Then, configure the paywall settings to suit your needs.
Customize the paywall appearance to match your brand using Divi modules for a user-friendly experience.
Integrate your preferred payment gateway with advanced options for secure transactions.
With Plugin 3, you can restrict paid content, hide specific pages, and ensure only paying users have access.
Customer support is available for troubleshooting common problems.
By implementing Plugin 3, you can effectively monetize your content and provide a seamless user experience for paying customers.
Installing and Activating the Paywall Plugin
To incorporate the keywords naturally in the provided text, the text can be rewritten as follows:
To install and activate the paywall plugin on your WordPress site, please follow the steps given below:
- Begin by logging in to your WordPress admin dashboard.
- Once logged in, navigate to the “Plugins” tab and click on “Add New”.
- In the search bar, simply type in “paywall plugin” and hit enter.
- You will then see a list of search results. Locate the desired paywall plugin and click on “Install Now”.
- After the installation process is complete, click on “Activate” to activate the plugin.
- To access the plugin settings page, go back to the “Plugins” tab and click on the name of the plugin.
- On the plugin settings page, you can now configure the paywall settings based on your requirements. This includes setting up subscription plans, choosing payment gateways, and defining access restrictions.
- Once you have configured the settings, make sure to save your changes.
- If you want to display the paywall on your site, you can utilize the shortcodes or widgets provided by the plugin. For more detailed instructions, please refer to the plugin documentation.
By following these simple steps, you will be able to successfully install and activate the paywall plugin on your WordPress site, allowing you to monetize your content effectively.
Configuring the Paywall Settings
Unlock the potential of monetizing your WordPress site with paywalls! In this section, we dive into the nitty-gritty of configuring the paywall settings. Discover how to set up pricing plans and offer your valuable content behind a subscription barrier. We’ll also explore the various ways you can customize the paywall appearance to fit your brand’s aesthetics. Plus, we’ll guide you through the seamless integration of a reliable payment gateway. Get ready to transform your website into a revenue-generating machine!
Setting Up Pricing Plans
When setting up pricing plans for your paywall on your WordPress site, consider the following steps:
1. Offer different membership levels: Provide options for users to choose from, such as basic, premium, or pro memberships.
2. Define the features and benefits: Clearly outline what each membership level includes and the specific benefits users will receive.
3. Create subscription plans: Determine the duration of each subscription plan, such as monthly, quarterly, or annual options.
4. Set pricing tiers: Establish different pricing tiers for each membership level, considering factors like value, competition, and target audience.
5. Implement discounts or promotions: Consider offering discounted prices for new members or running limited-time promotions to attract new customers.
6. Provide flexible payment options: Enable various payment methods, including credit cards, PayPal, or other popular online payment gateways.
7. Communicate the pricing plans: Clearly display the pricing options and details on your website so that users can easily understand and make a decision.
8. Regularly review and update: Continuously evaluate your pricing plans based on user feedback, market trends, and business goals to ensure they remain competitive and profitable.
Customizing the Paywall Appearance
To customize the appearance of the paywall, you can make use of the features provided by paywall plugins. Here is a table that summarizes the main elements of customizing the paywall appearance:
| Aspect | Plugins Provide |
| Brand Image | Paywall design can incorporate brand elements like logo, colors, and fonts using Divi modules. This helps maintain consistency and reinforce the brand image. |
| User-Friendly Solution | Paywall plugins offer user-friendly interfaces that make customization easy. You can modify the layout, text, and style to create a seamless and visually appealing user experience. |
Here are some suggestions for customizing the paywall appearance:
1. Reflect your brand: Make use of the customization options available to showcase your brand identity and maintain a consistent visual representation across your website and paywall.
2. Keep it user-friendly: Ensure that the paywall design and layout are intuitive and easy to navigate. This will make it simple for users to understand the payment options available.
3. Test and iterate: Continuously monitor and analyze user interaction with the paywall. Make adjustments based on feedback and data to enhance its appearance and optimize the conversion rate.
Remember, customizing the paywall appearance is important to align it with your brand and create a positive user experience. This can lead to increased conversions and revenue.
Integrating Payment Gateway
To seamlessly integrate a payment gateway into your WordPress site, follow these steps:
1. Choose a suitable payment gateway provider, such as PayPal, Stripe, or Authorize.net.
2. Create an account with your chosen provider and acquire the necessary API keys or credentials.
3. Install a compatible payment gateway plugin from the WordPress plugin repository.
4. Activate the plugin and navigate to its settings page.
5. Input the API keys or credentials provided by your payment gateway provider.
6. Select the desired payment options to offer, such as credit cards or PayPal.
7. Customize additional settings, such as tax calculations or currency options, to meet your specific business requirements.
8. Save the settings and conduct a test transaction to ensure the proper functioning of the payment gateway.
9. Once successfully integrated, customers will be able to utilize the payment gateway on your WordPress site.
By following these steps, you can effortlessly incorporate a payment gateway into your WordPress site, facilitating secure and convenient online transactions.
Placing Paywalls on Your WordPress Content
A WordPress site focused on providing premium tutorials implemented the strategy of placing paywalls on their WordPress content for sustainable revenue and quality maintenance. They carefully selected a reliable paywall plugin for their site, with options including MemberPress, WooCommerce Memberships, or Restrict Content Pro. Following the installation instructions, they seamlessly installed and activated their chosen paywall plugin.
Once the paywall was in place, they proceeded to create membership or subscription plans for their paywalled content. They took into consideration factors such as the target audience, content value, and duration and price of the plans. With these plans in place, they were able to restrict access to specific content using the convenient settings offered by the paywall plugin.
To align the paywall’s appearance with their branding, they took the time to customize elements such as colors, fonts, and layout. This attention to detail allowed them to maintain a cohesive and professional look throughout their site.
In order to maximize the benefits of the paywalls, they utilized effective marketing strategies. This included tactics such as email marketing, social media campaigns, and SEO techniques to promote their paywalled content. By doing so, they were able to reach a wider audience and attract more subscribers to their exclusive content.
As a result of implementing paywalls, the WordPress site experienced a substantial increase in monthly revenue. With this newfound financial stability, they were able to invest in additional resources and even hire experts to deliver even more valuable content. The presence of paywalls not only improved their profitability but also fostered a dedicated community of subscribers who appreciated the exclusive access to high-quality tutorials. Ultimately, placing paywalls on their WordPress content enhanced both their financial success and expertise.
Testing the Paywall
1. Begin by setting up a test environment where you can create a separate test website or staging area. This way, you can try out the paywall functionality without affecting your live site.
2. Next, install and activate the chosen paywall plugin for your site to implement the necessary features.
3. Customize the paywall settings according to your specific requirements. This includes setting up restricted content, pricing options, and any special offers.
4. In order to simulate different scenarios, generate multiple test user accounts with various subscription levels.
5. Now, log in with the test user accounts and attempt to access the restricted content. This step ensures that the paywall is functioning correctly.
6. Test the payment process by performing multiple transactions using different payment methods. This will help ensure a smooth and secure payment experience for your users.
7. Assess the overall user experience, paying particular attention to the seamless redirection to the payment page and easy navigation after successful subscription.
8. It’s crucial to track and analyze the data provided by the paywall plugin. This will provide valuable insights into user behavior, subscription rates, and revenue.
9. As part of the testing process, it’s important to identify and rectify any bugs or compatibility issues that may arise. This will help ensure a smooth user experience.
10. Test the paywall functionality across different devices and browsers to ensure compatibility and responsiveness.
11. Once you are satisfied with the testing results and have resolved any issues, you can finalize the paywall setup. Implement it on your live site and begin monetizing your content.
Common Issues and Troubleshooting
Common Issues and Troubleshooting
When implementing a paywall on your WordPress site with plugins, you may encounter common issues and troubleshooting steps to resolve them:
1. Compatibility issues: Some paywall plugins may not be compatible with certain WordPress themes or plugins. Choose a paywall plugin compatible with your website’s setup.
2. Payment gateway integration: If users have difficulties making payments or if the payment gateway is not functioning properly, check if the plugin supports your payment gateway. Configure your payment gateway settings correctly.
3. Access restrictions: Sometimes, users may have issues accessing content after making a successful payment. Check the access settings within the paywall plugin to ensure paying users can access the appropriate content.
4. Content protection: If your paywall is not effectively protecting premium content, enable necessary settings within the plugin. Make sure the paywall restricts access for non-paying users.
5. User experience: If users report issues with the paywall interface or find it difficult to navigate, review the plugin’s customization options. Ensure it aligns with your website’s branding and provides a smooth user experience.
To troubleshoot these issues, first, verify that your paywall plugin is up-to-date and compatible with your WordPress version. Consult the plugin’s documentation and support resources for specific troubleshooting steps. Consider reaching out to the plugin’s support team for further assistance.
Frequently Asked Questions
What are WordPress paywall plugins?
WordPress paywall plugins are tools that help restrict access to certain content on a website, allowing site owners to monetize their content by offering it exclusively to paying members or subscribers.
How can WordPress paywall plugins help me offer memberships or ongoing subscriptions?
WordPress paywall plugins provide a user-friendly solution for creating memberships or ongoing subscriptions on your website. They allow you to set up various membership levels, pricing options, and billing intervals to offer ongoing access to your content in exchange for a recurring payment.
Can I offer a free account with a WordPress paywall plugin?
Yes, some WordPress paywall plugins allow you to offer a free account or a limited number of free views before the paywall is triggered. This can be a great way to attract users and showcase the value of your premium content before asking them to subscribe or pay.
How can I monetize my blog using WordPress paywall plugins?
With WordPress paywall plugins, you can monetize your blog by hiding certain high-quality content behind a paywall. This allows you to offer premium content to your readers and generate revenue through subscriptions or one-time payments.
Is it possible to offer educational courses using WordPress paywall plugins?
Absolutely! WordPress paywall plugins, such as LearnDash, are specifically designed to help you create and sell online courses. These plugins offer features like a user-friendly course builder, content dripping, progress tracking, certifications, and more.
Are WordPress paywall plugins suitable for large publishers or top publications?
Yes, WordPress paywall plugins are suitable for large publishers and top publications. They offer advanced features such as integrating with payment gateways, providing detailed analytics, and allowing custom content restrictions. These plugins are highly flexible and can handle the needs of high-traffic websites.